Step 01
Start with the real product.
Use the ghost image as the anchor for silhouette, print scale, and brand details.
A quick look at how one standard product image can become a stronger set of laydowns, details, and on-body shots.
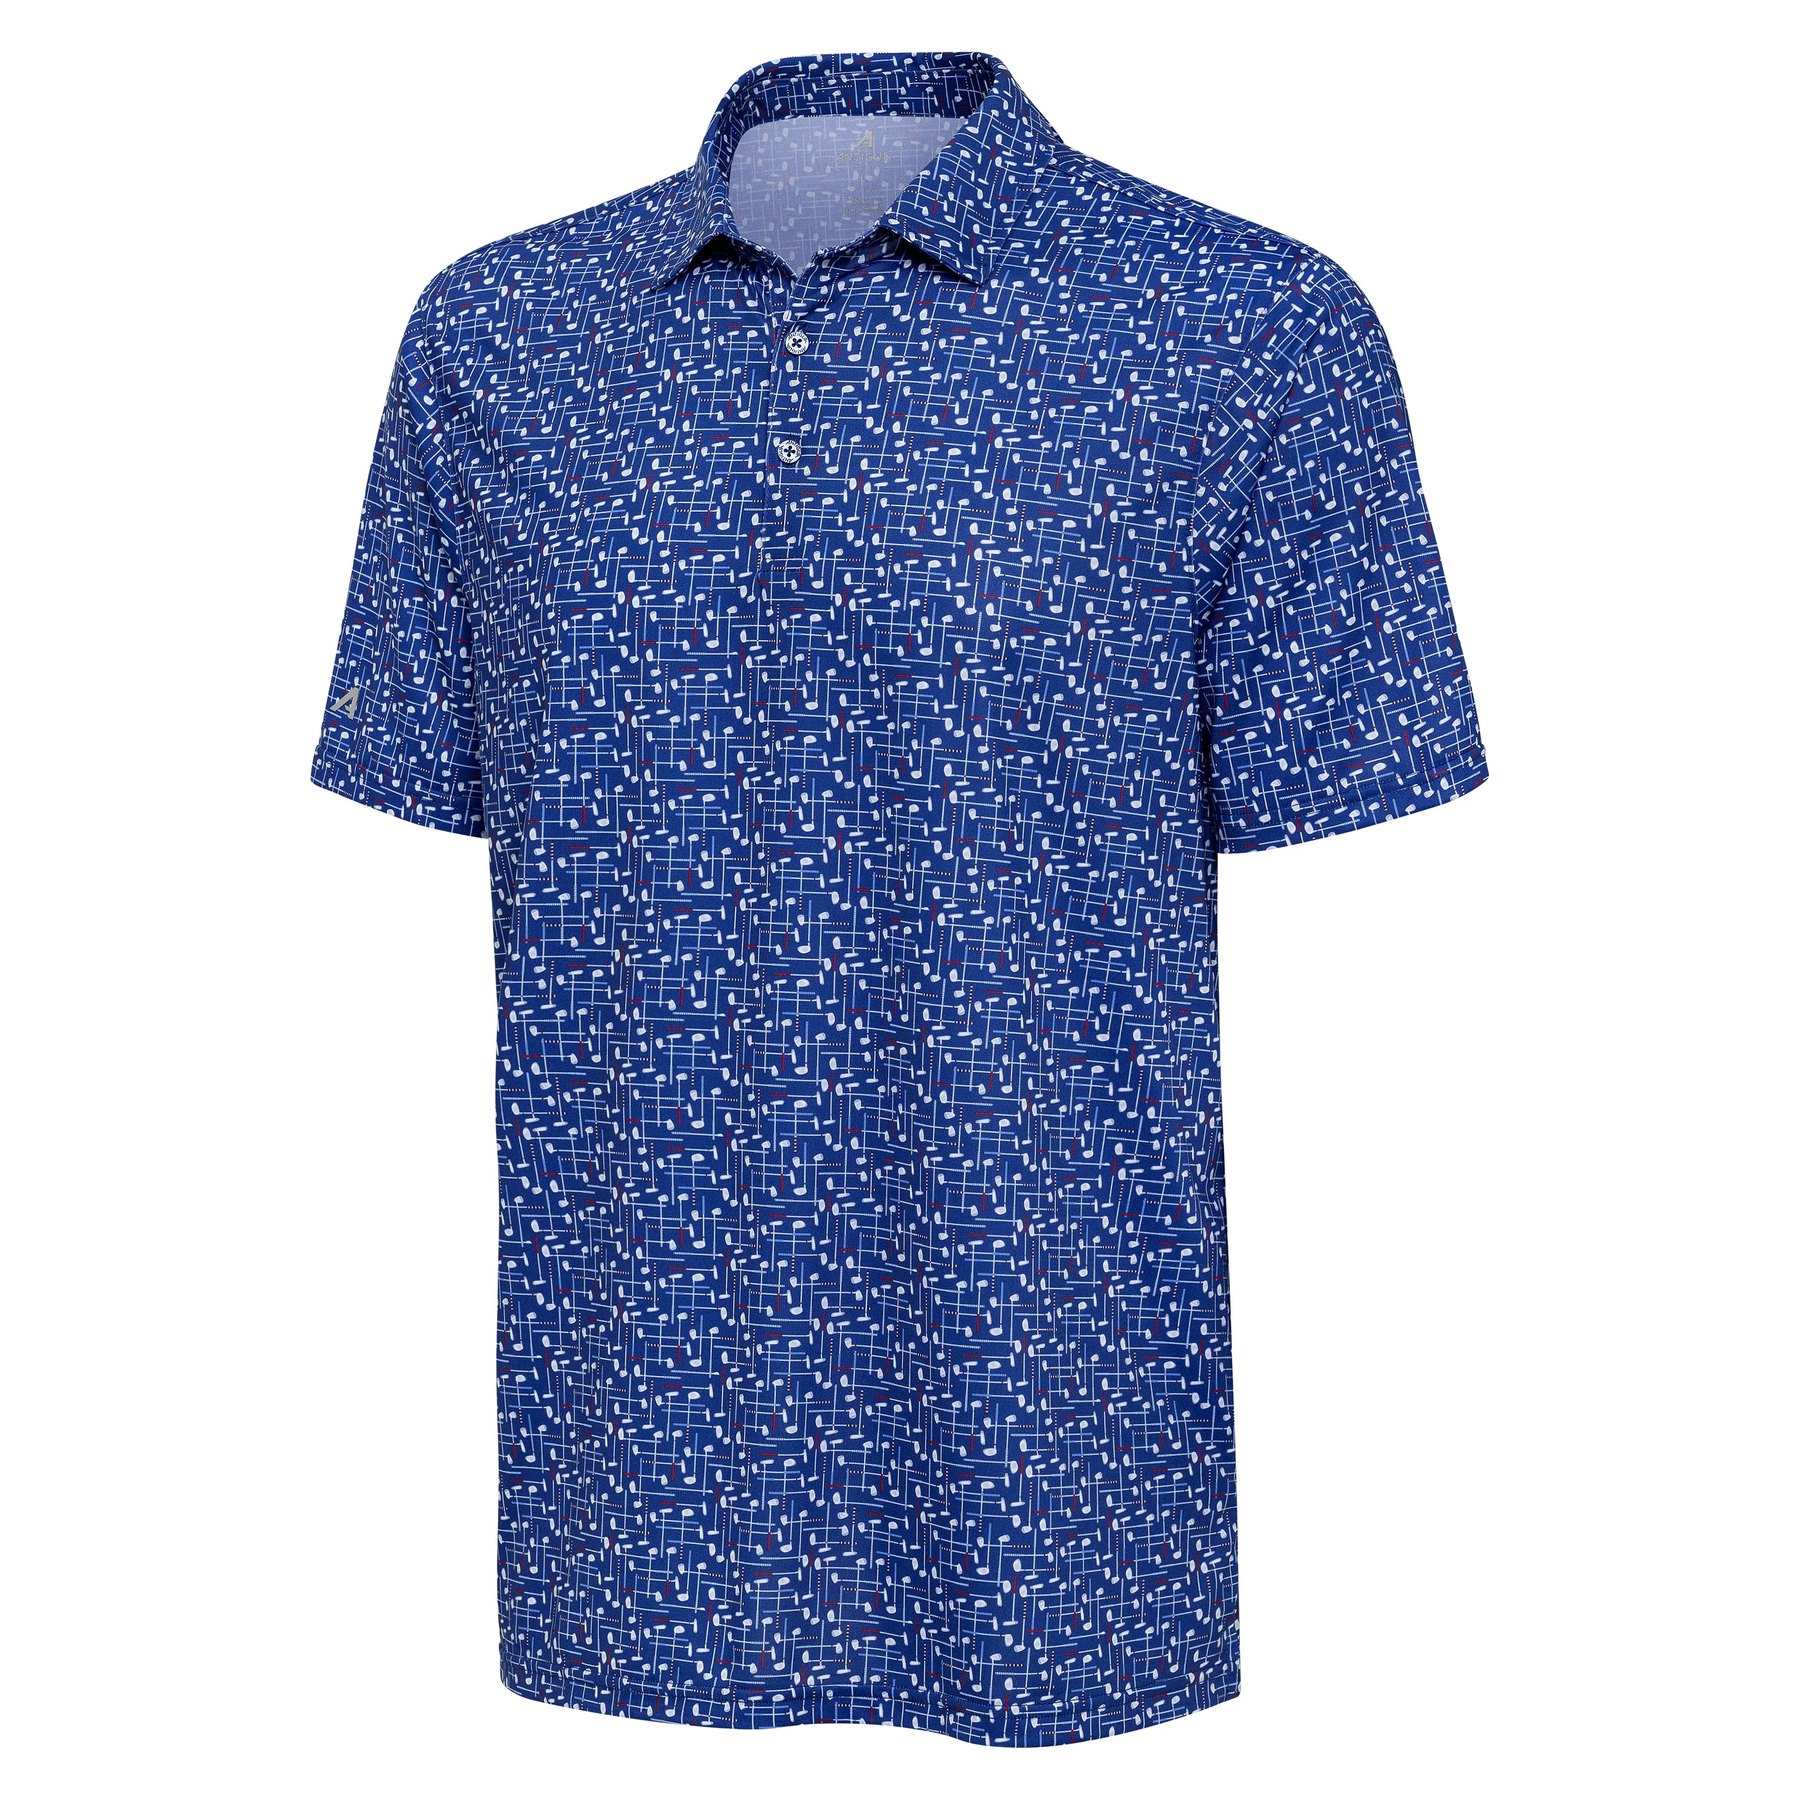
The process is built around keeping the real product intact: print scale, fabric, collar, sleeve logo, placket, and overall shape.
Use the ghost image as the anchor for silhouette, print scale, and brand details.
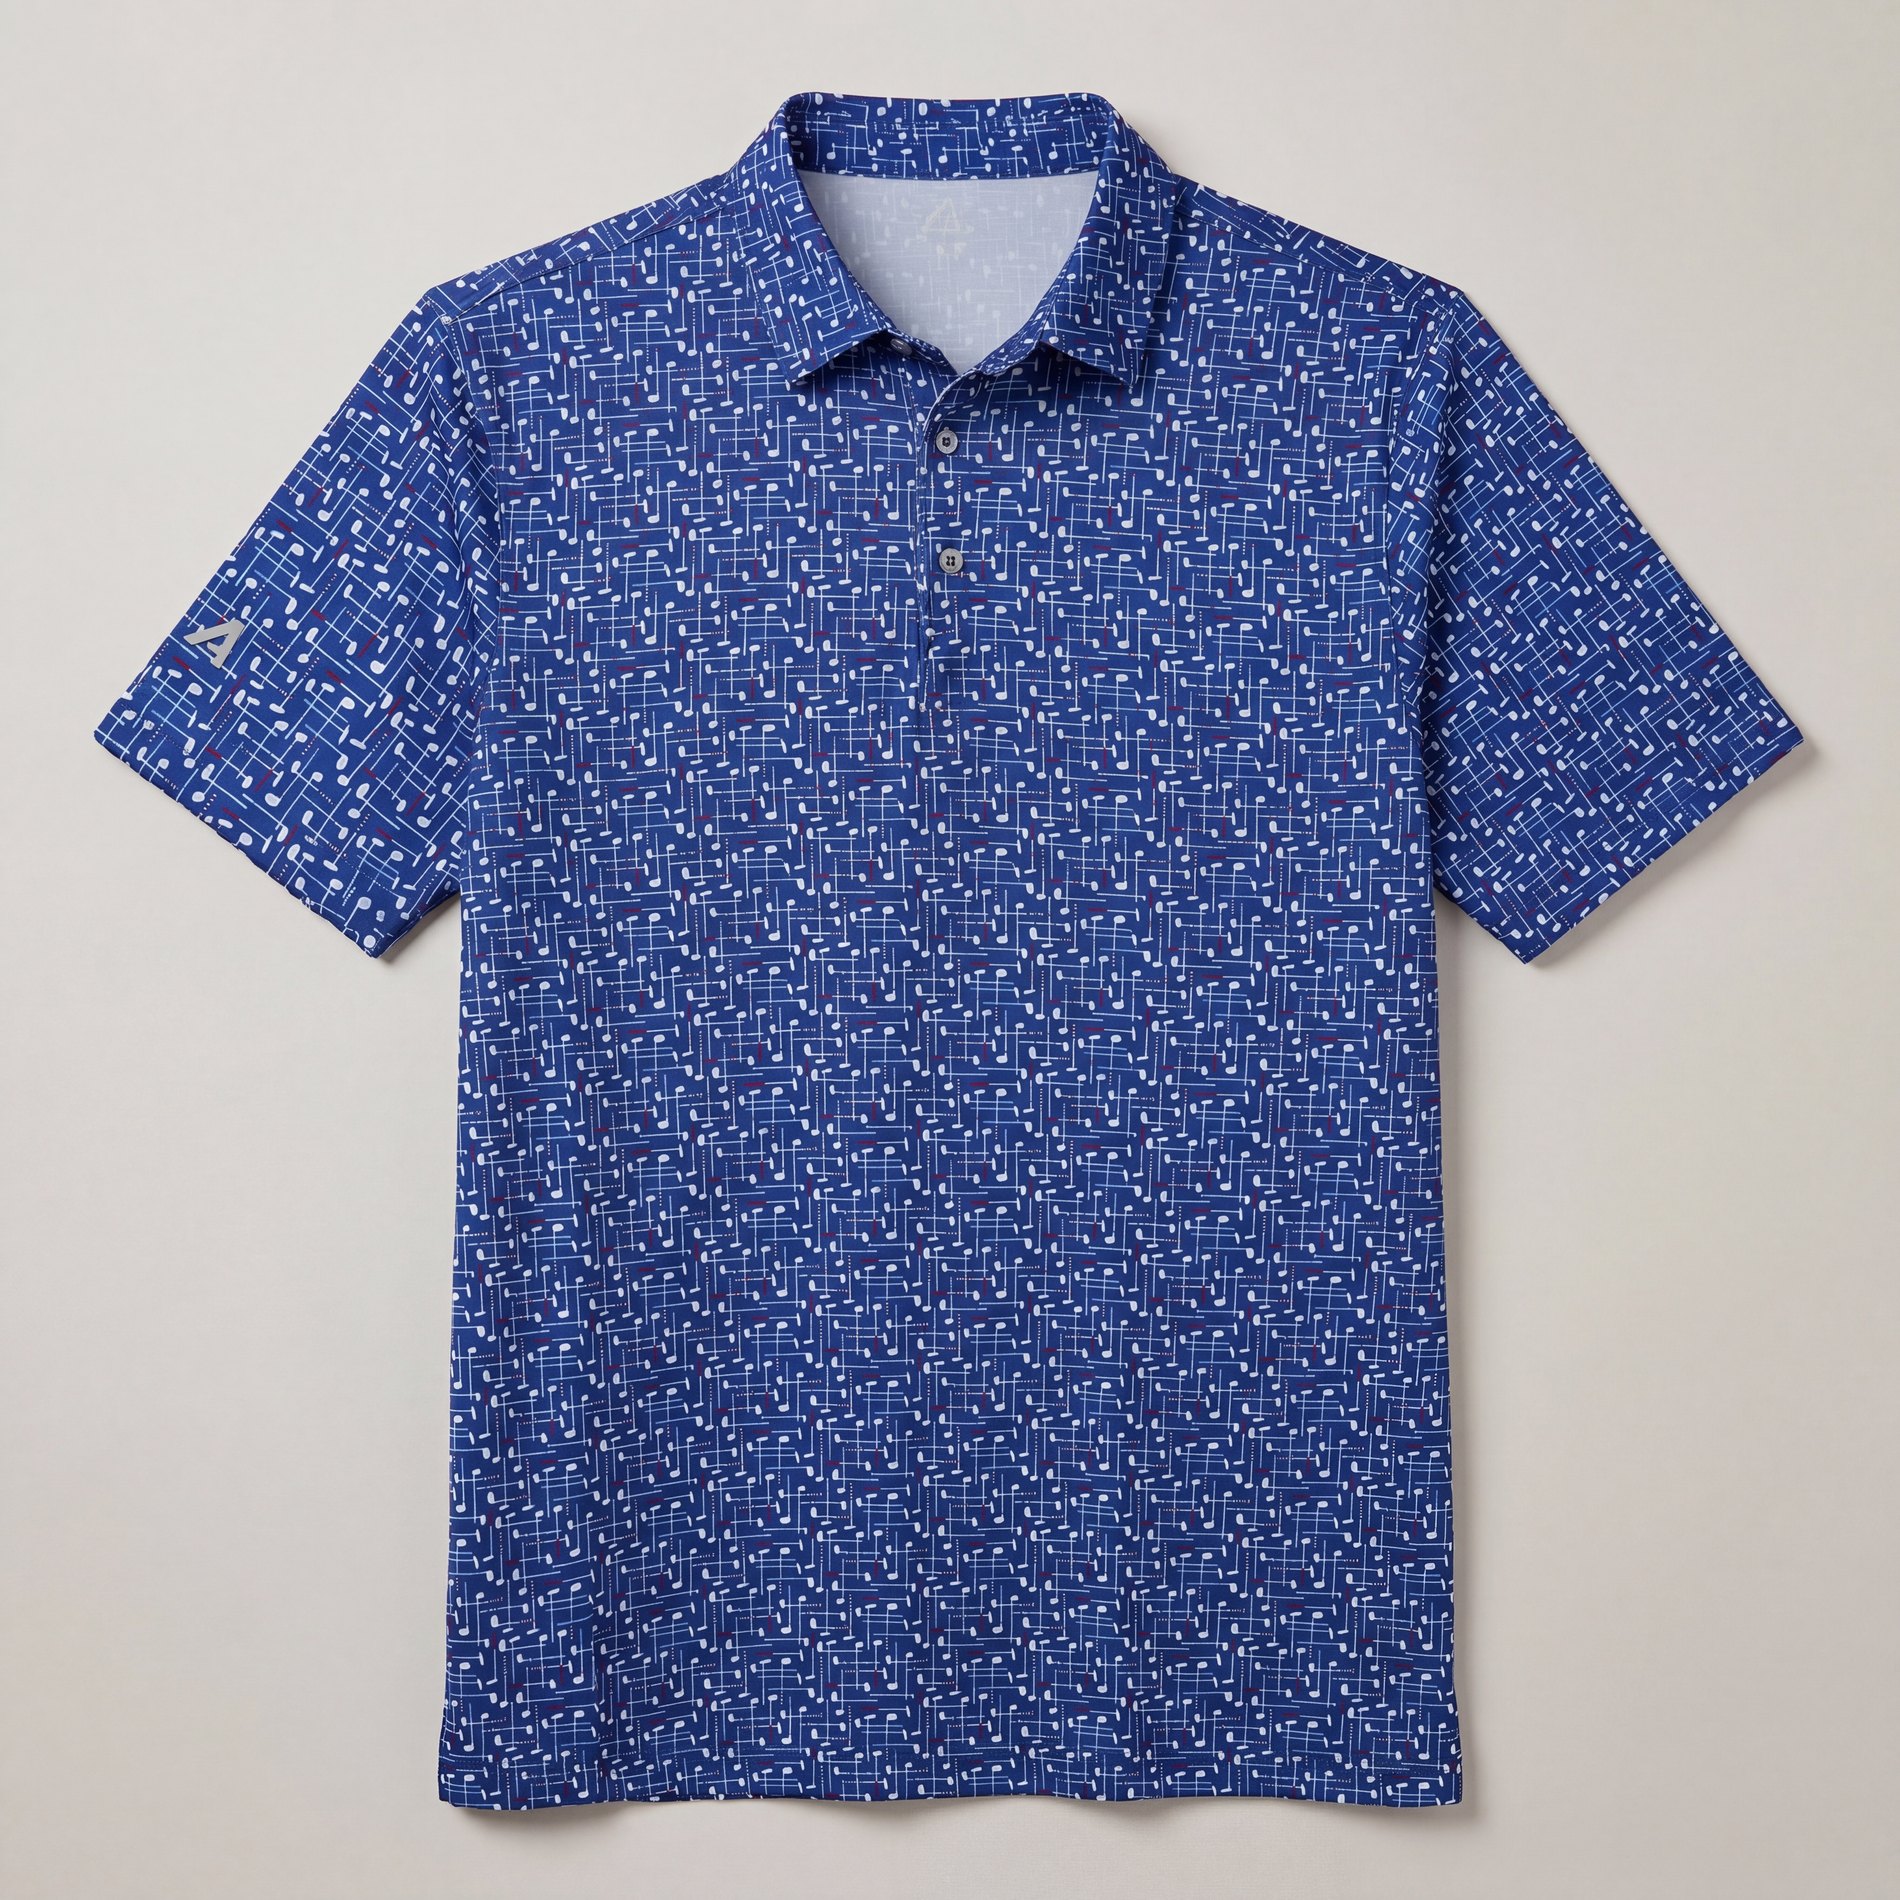
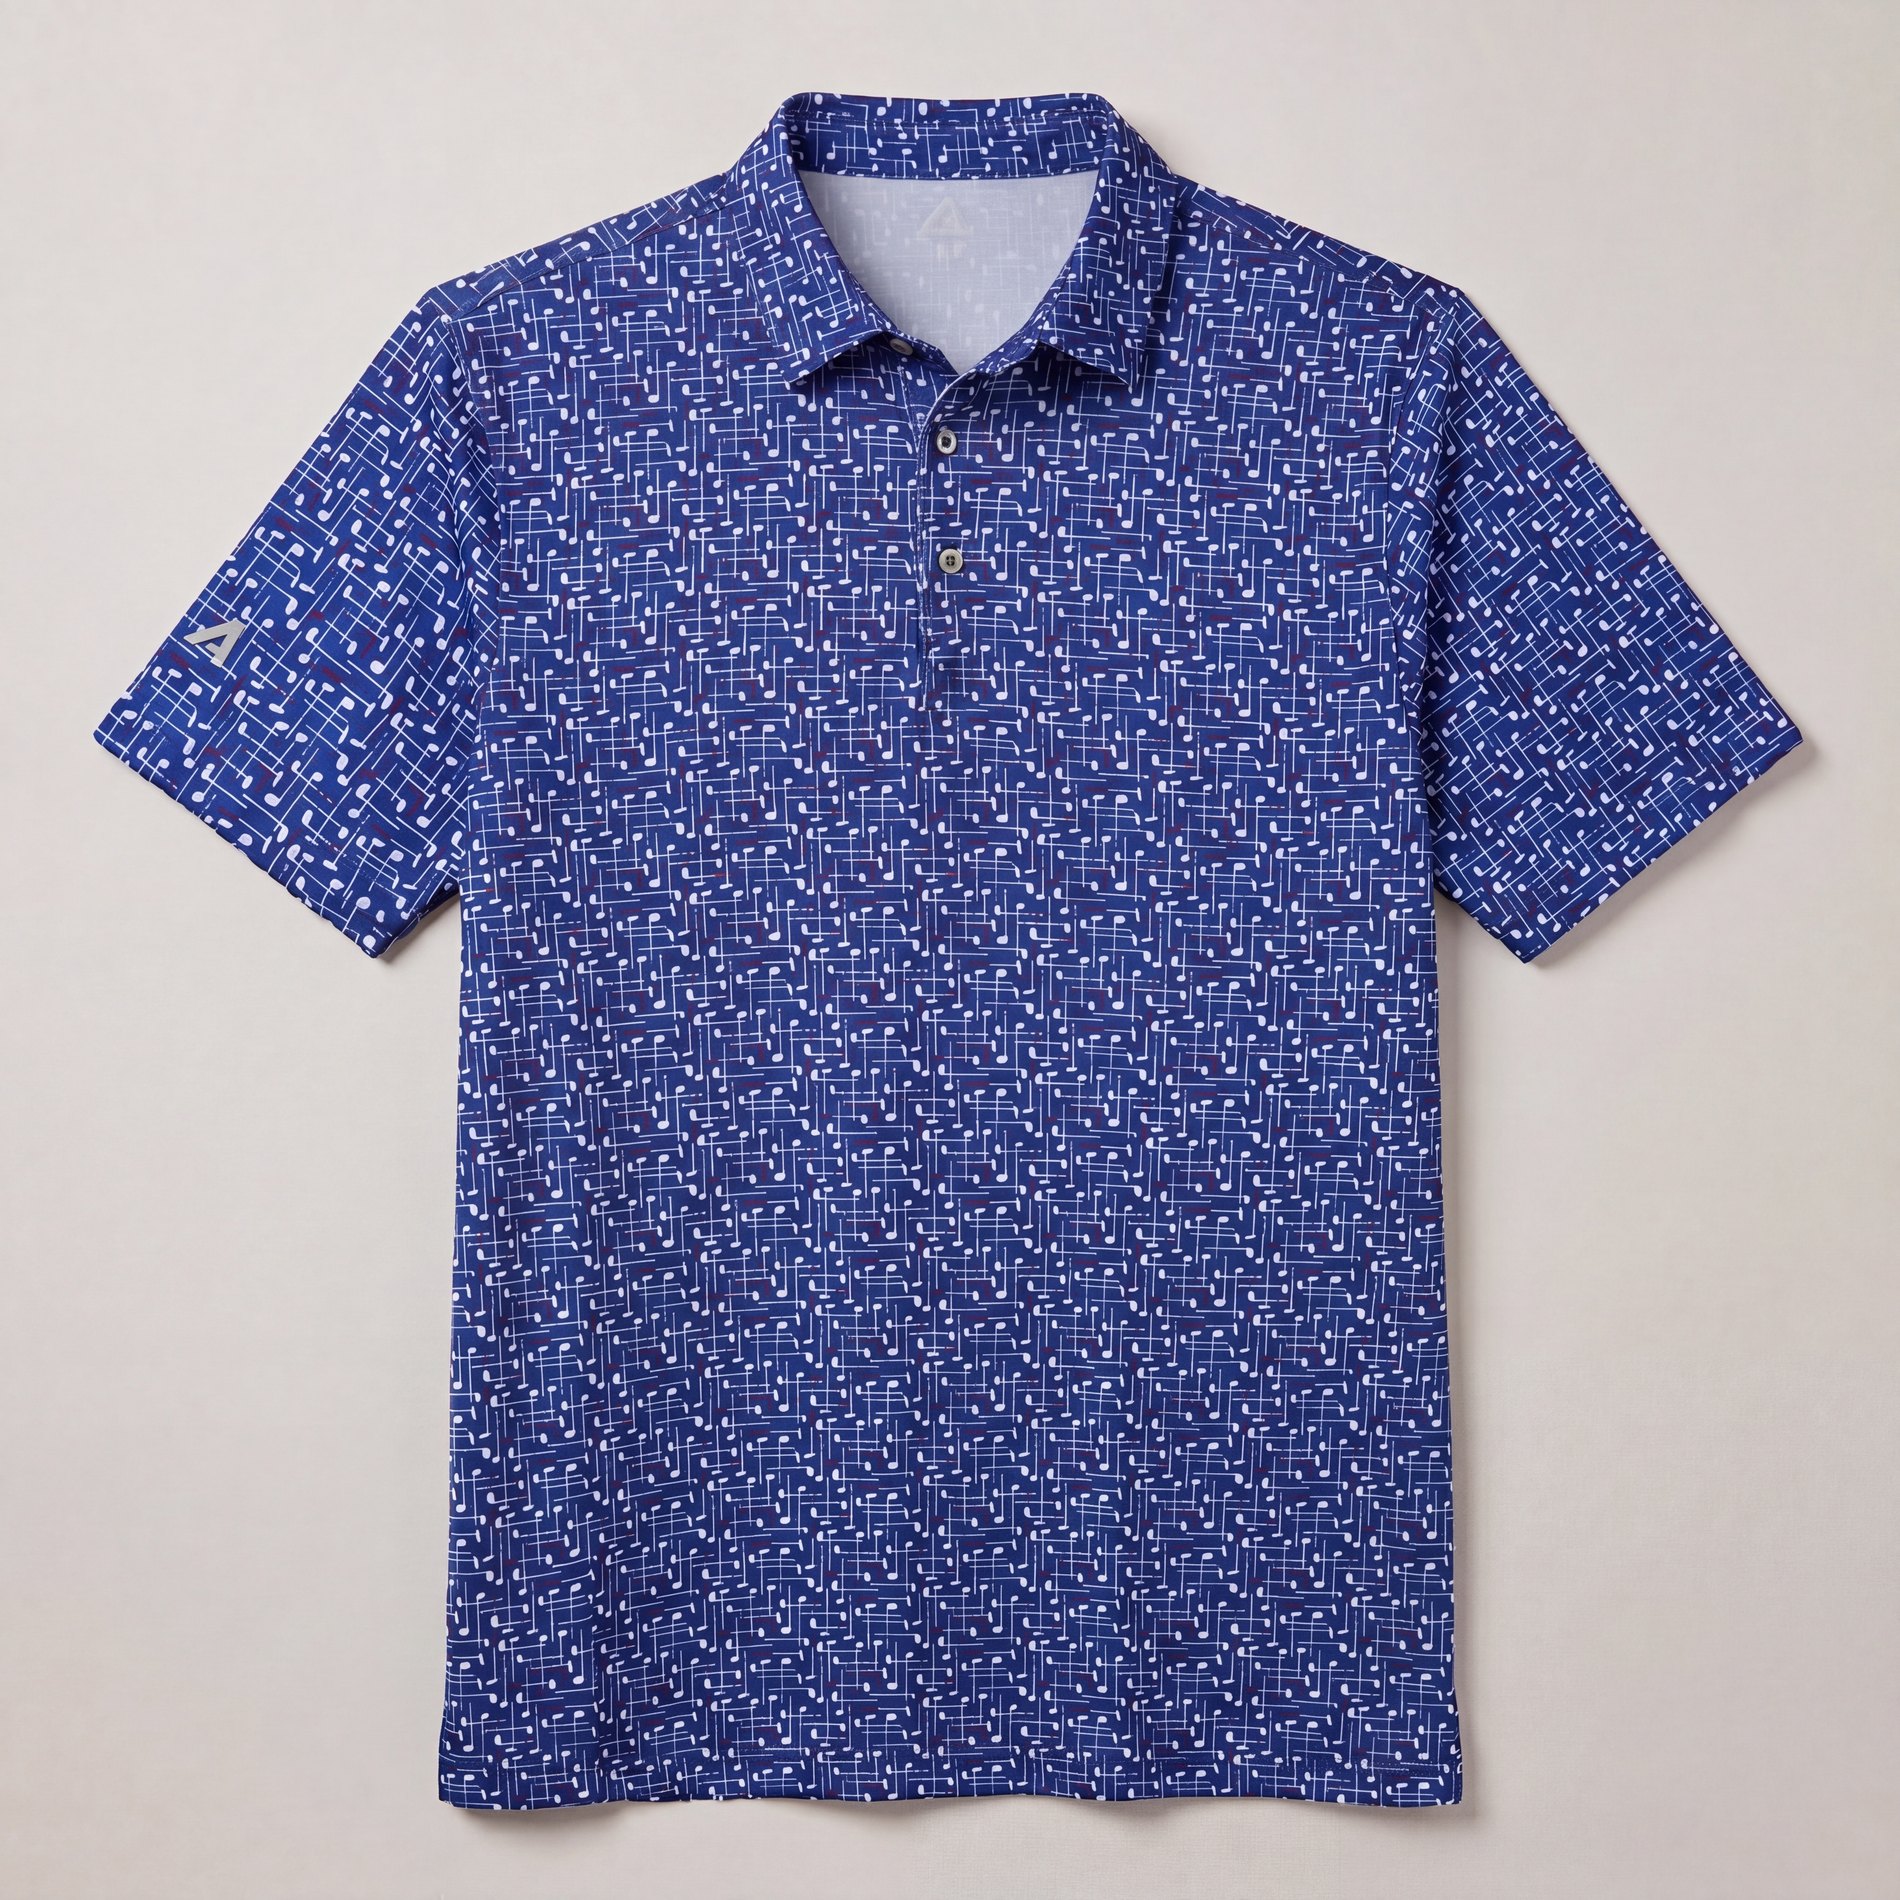
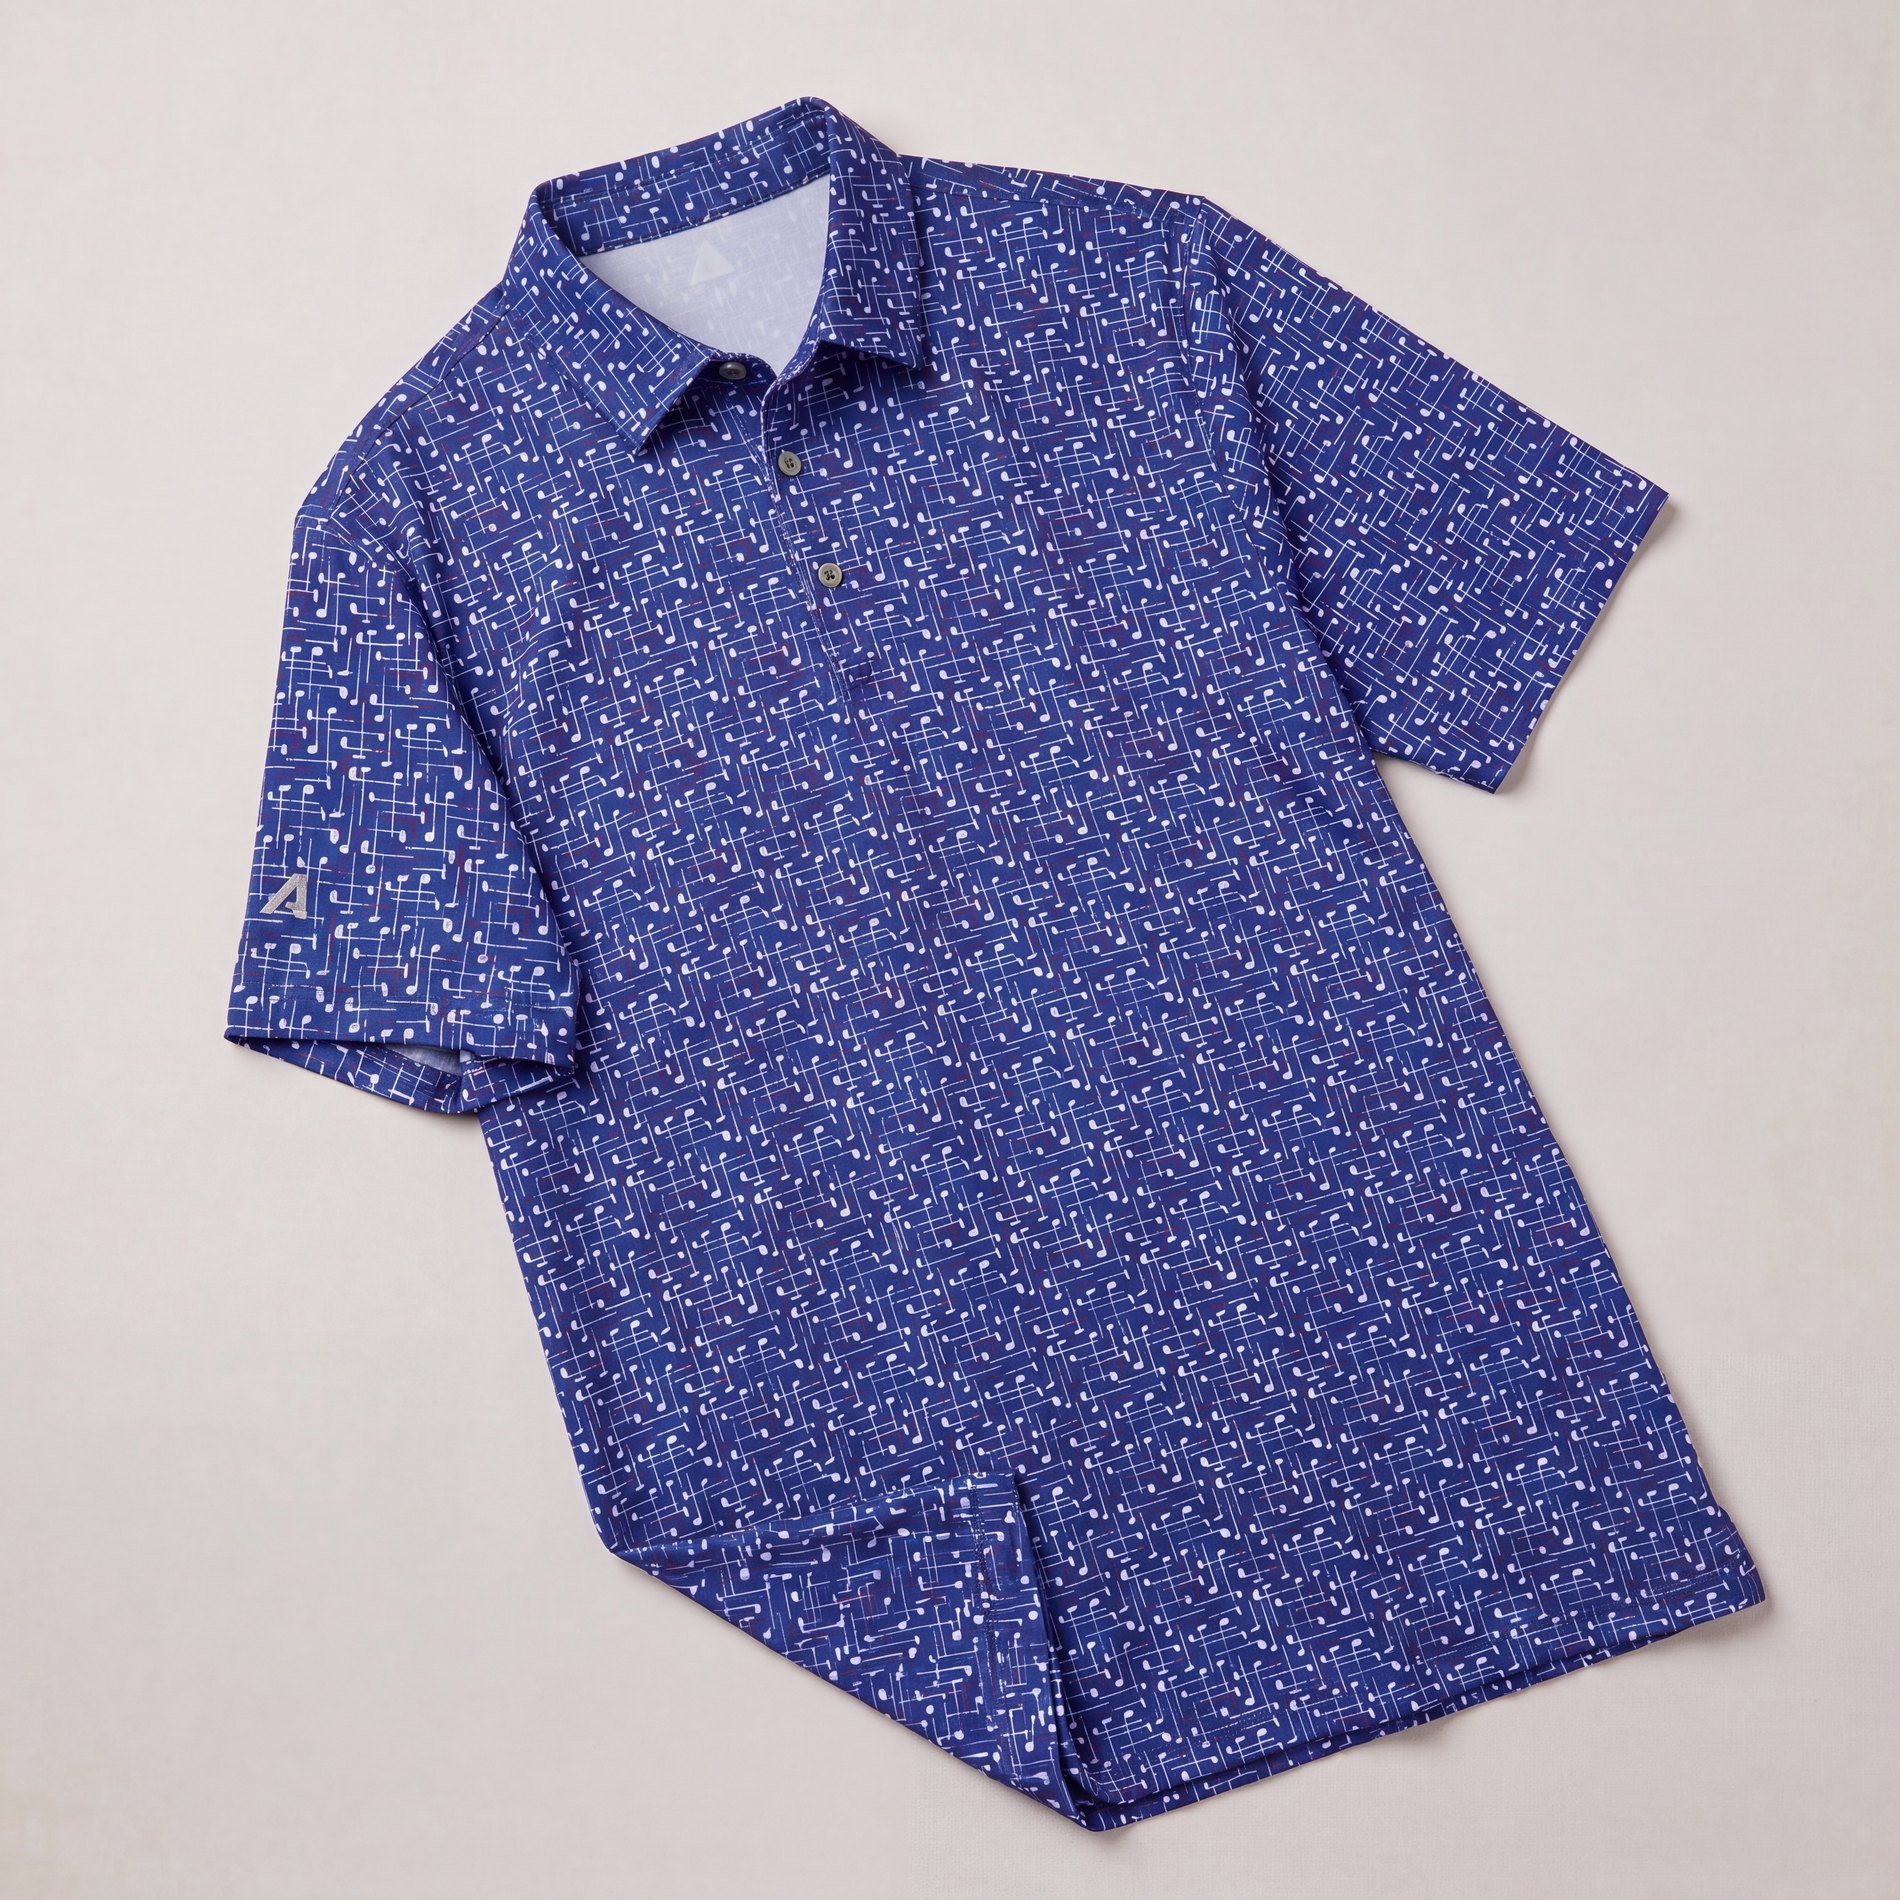
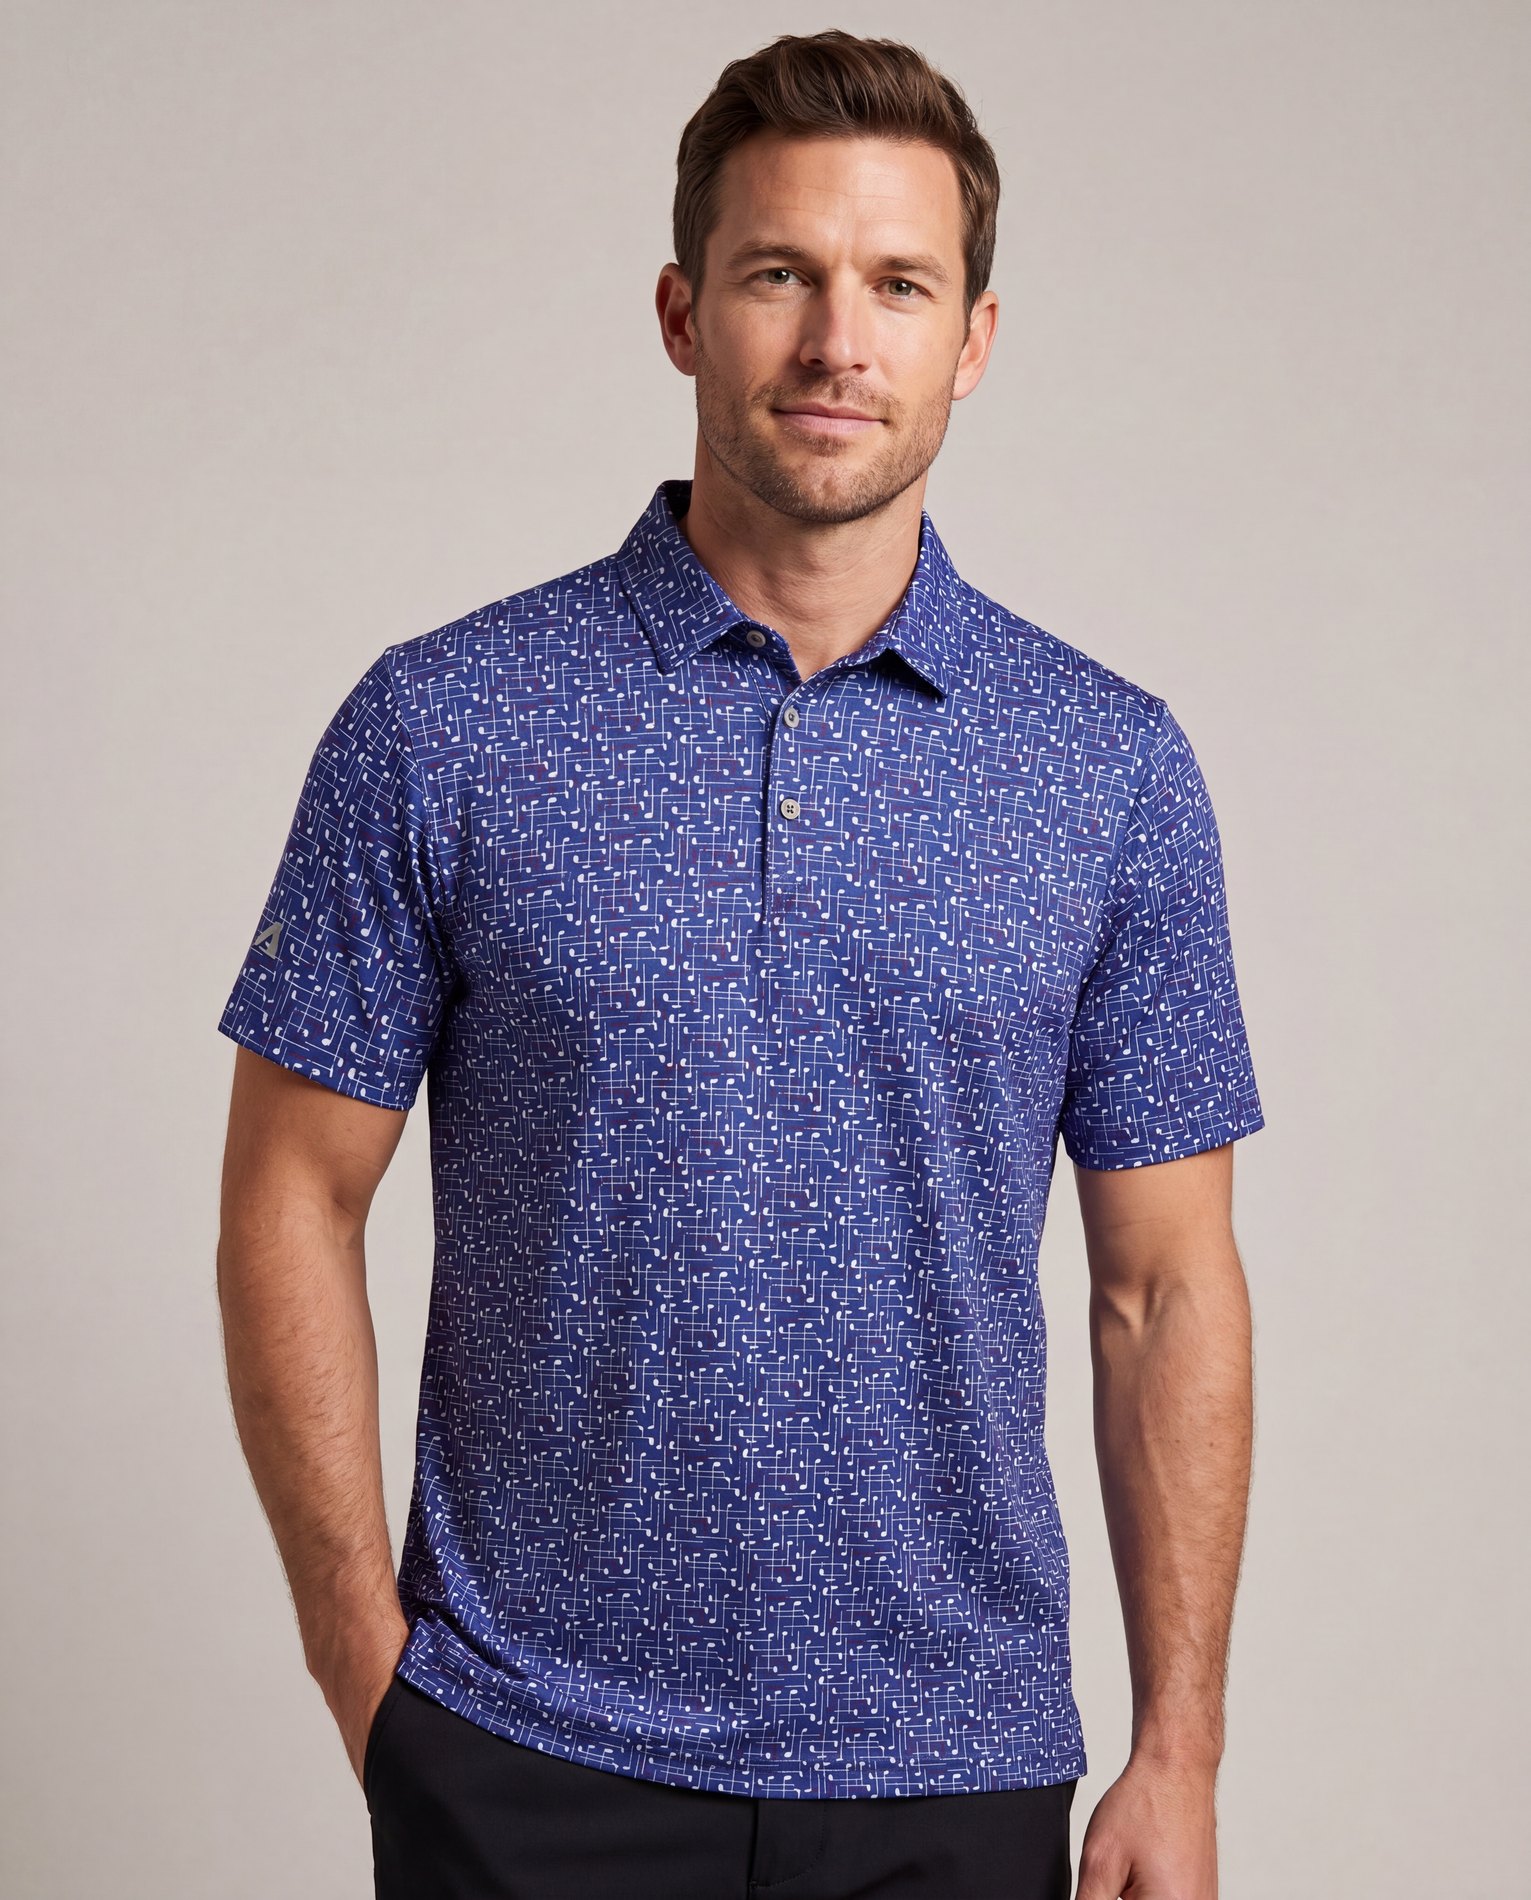
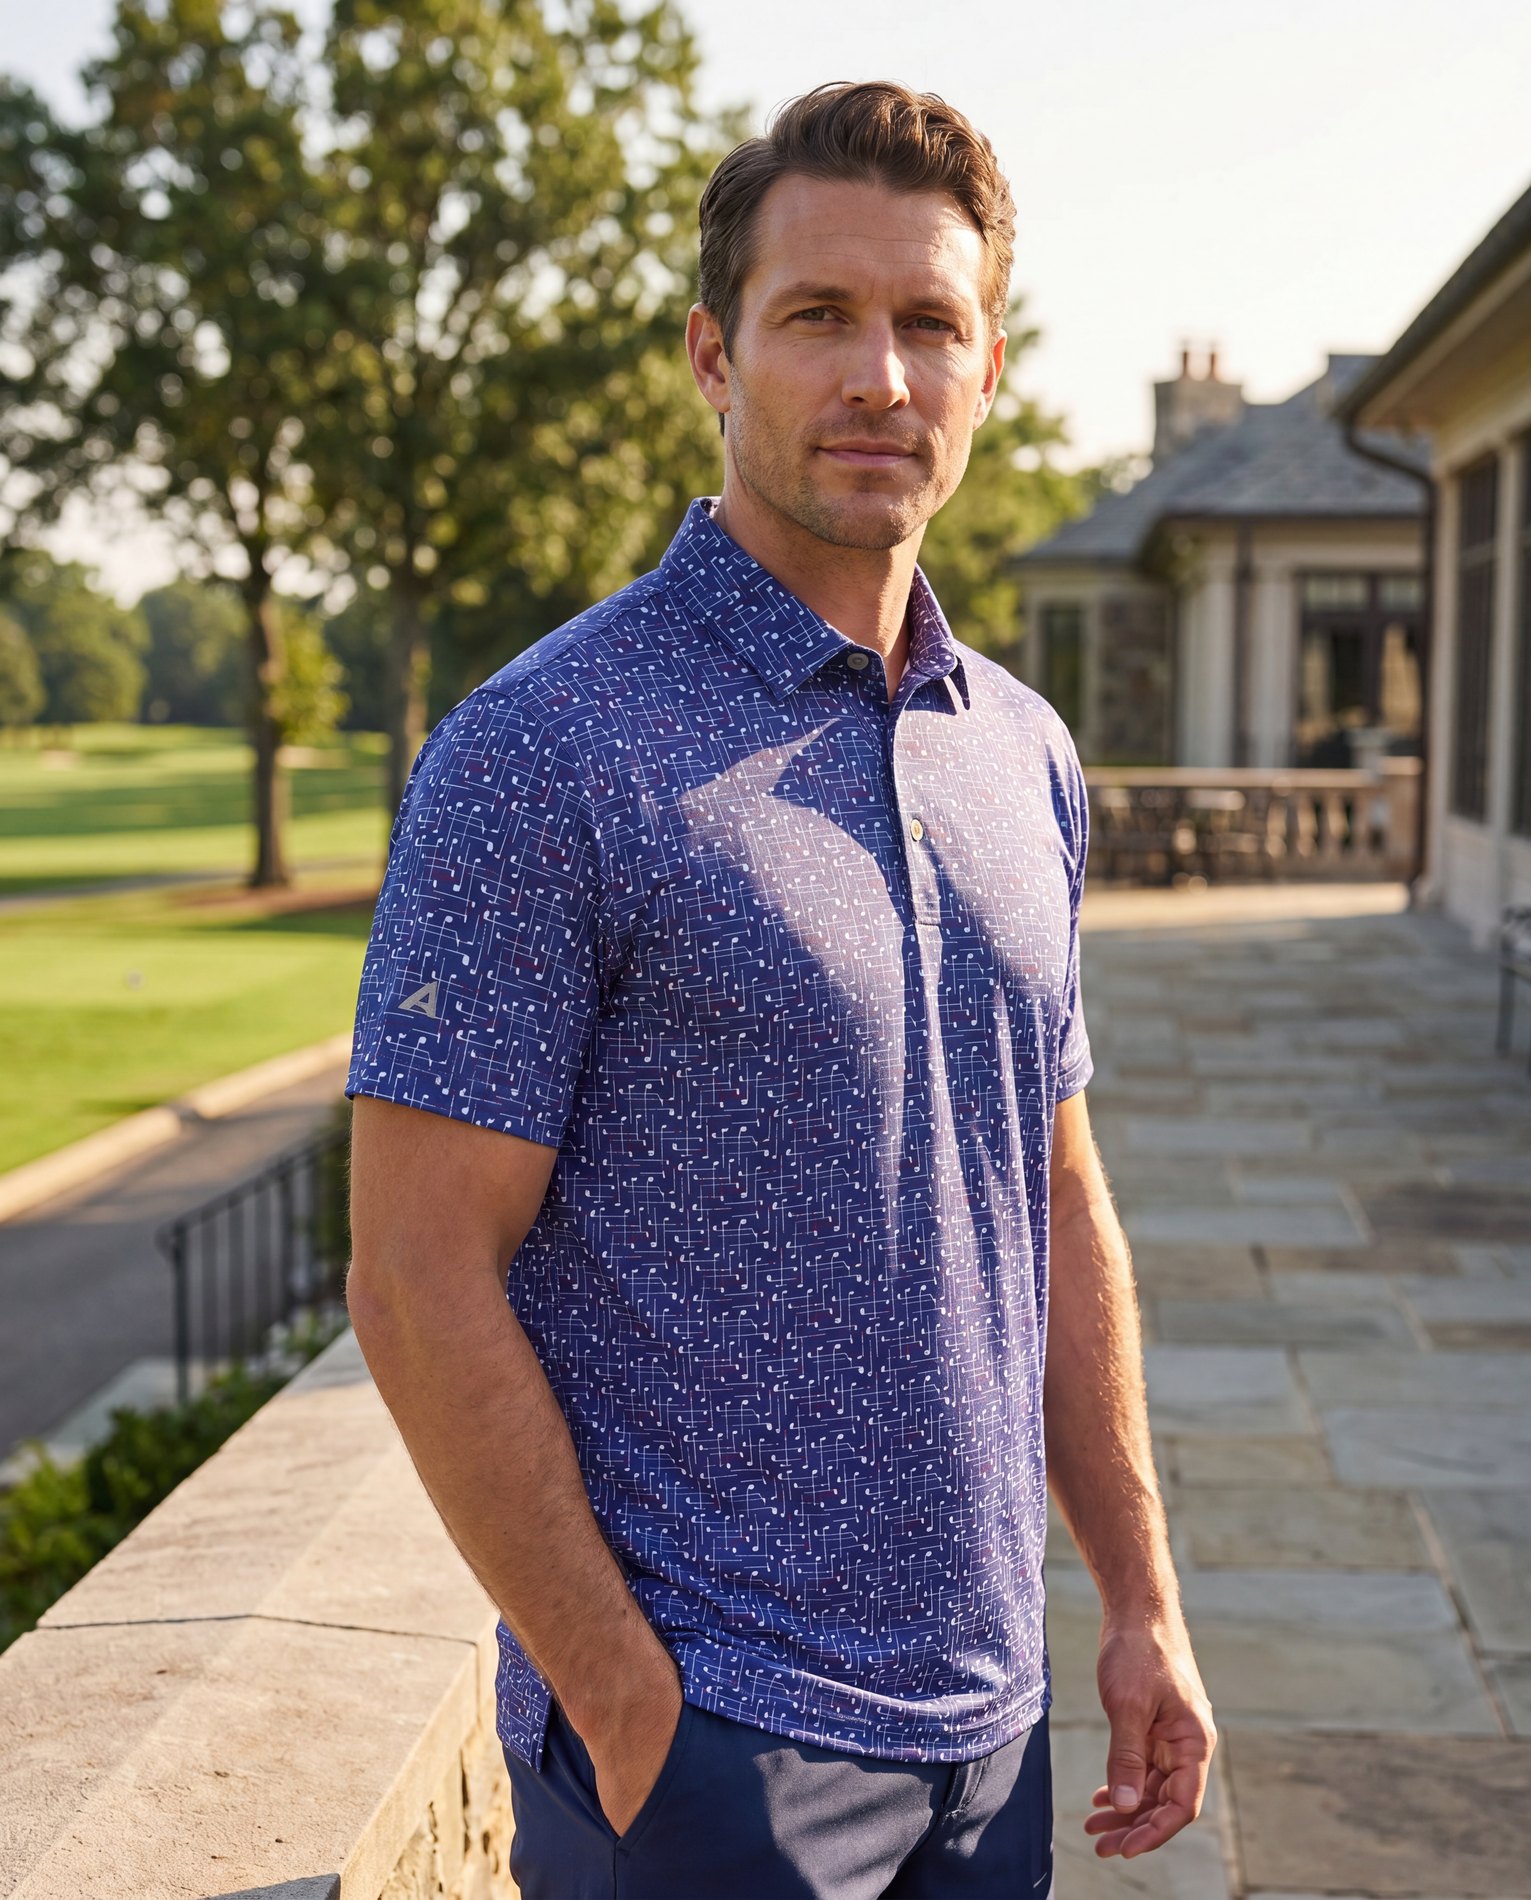
Build each image for a specific need: laydown, macro, detail, studio, or lifestyle.
Run extra passes to clean up fabric, seams, shadows, logo placement, and garment construction.
Use the best results as extra product content without starting from a new shoot.
Same source image, cleaner surface, better light, and a more useful product presentation.
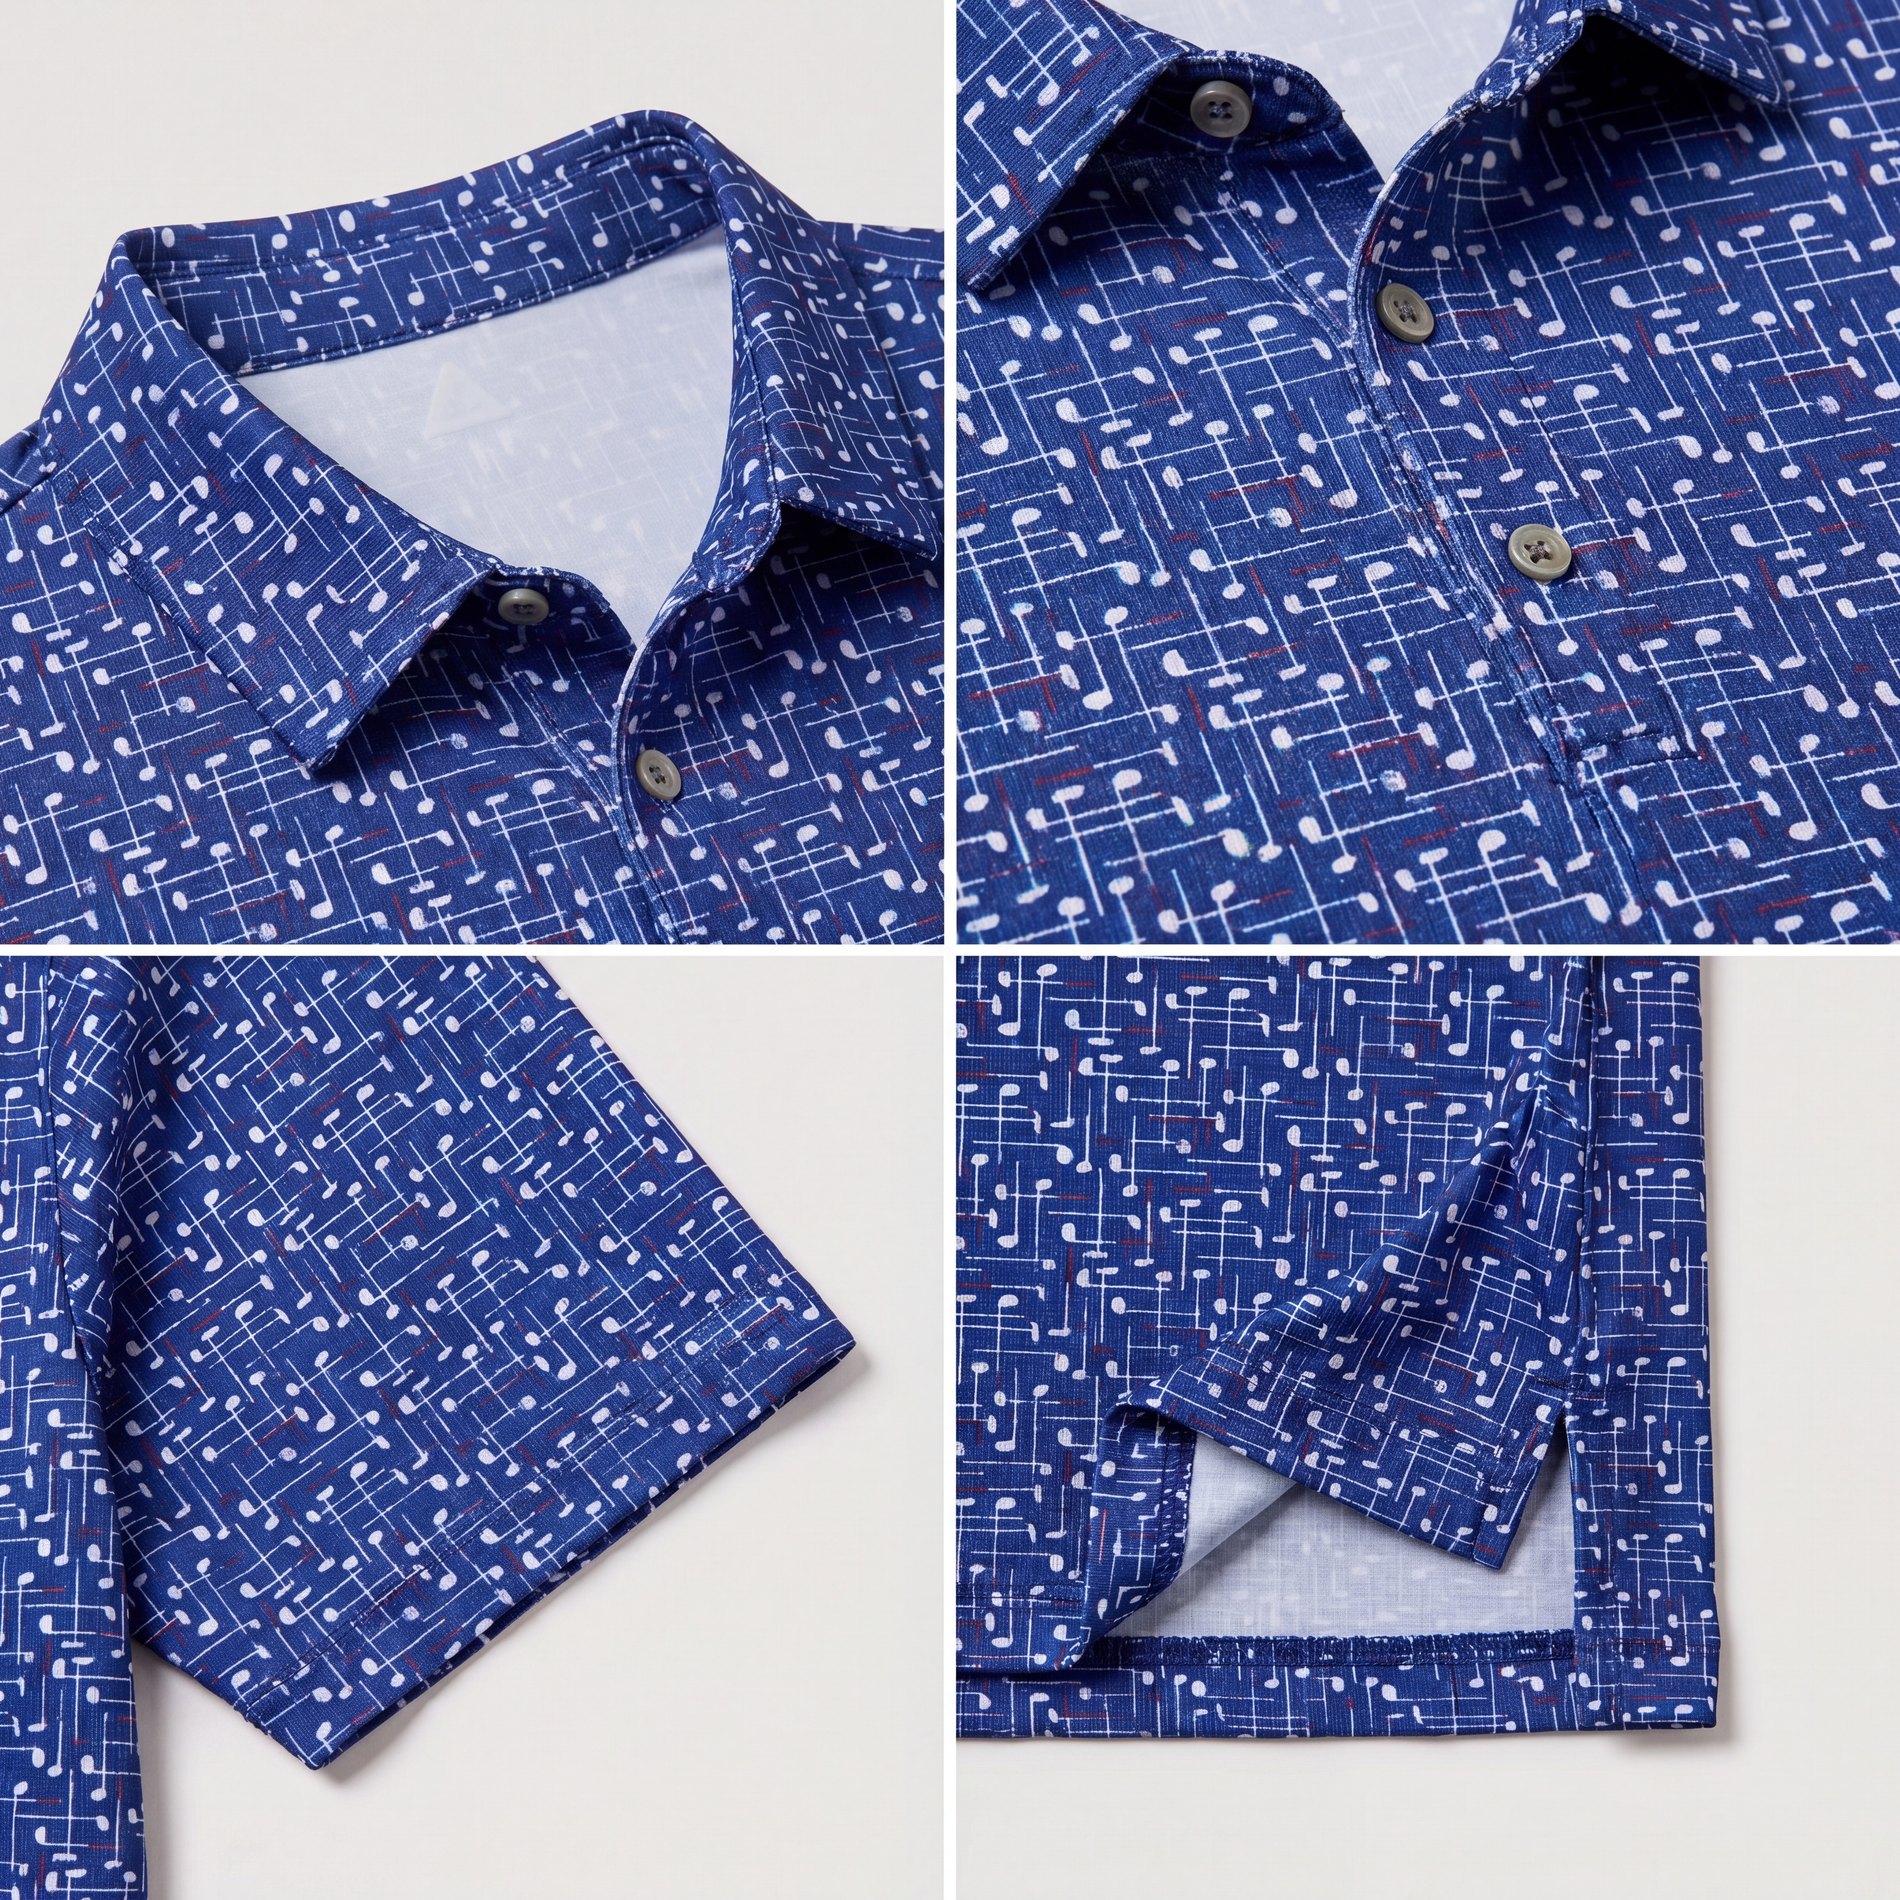
Color, print, collar, sleeve logo, placket, and proportion.
Lighting, surface, fabric, shadow, crop, and overall polish.
One ghost image becomes more usable content.
Laydowns, detail crops, and alternate angles from the same starting asset.

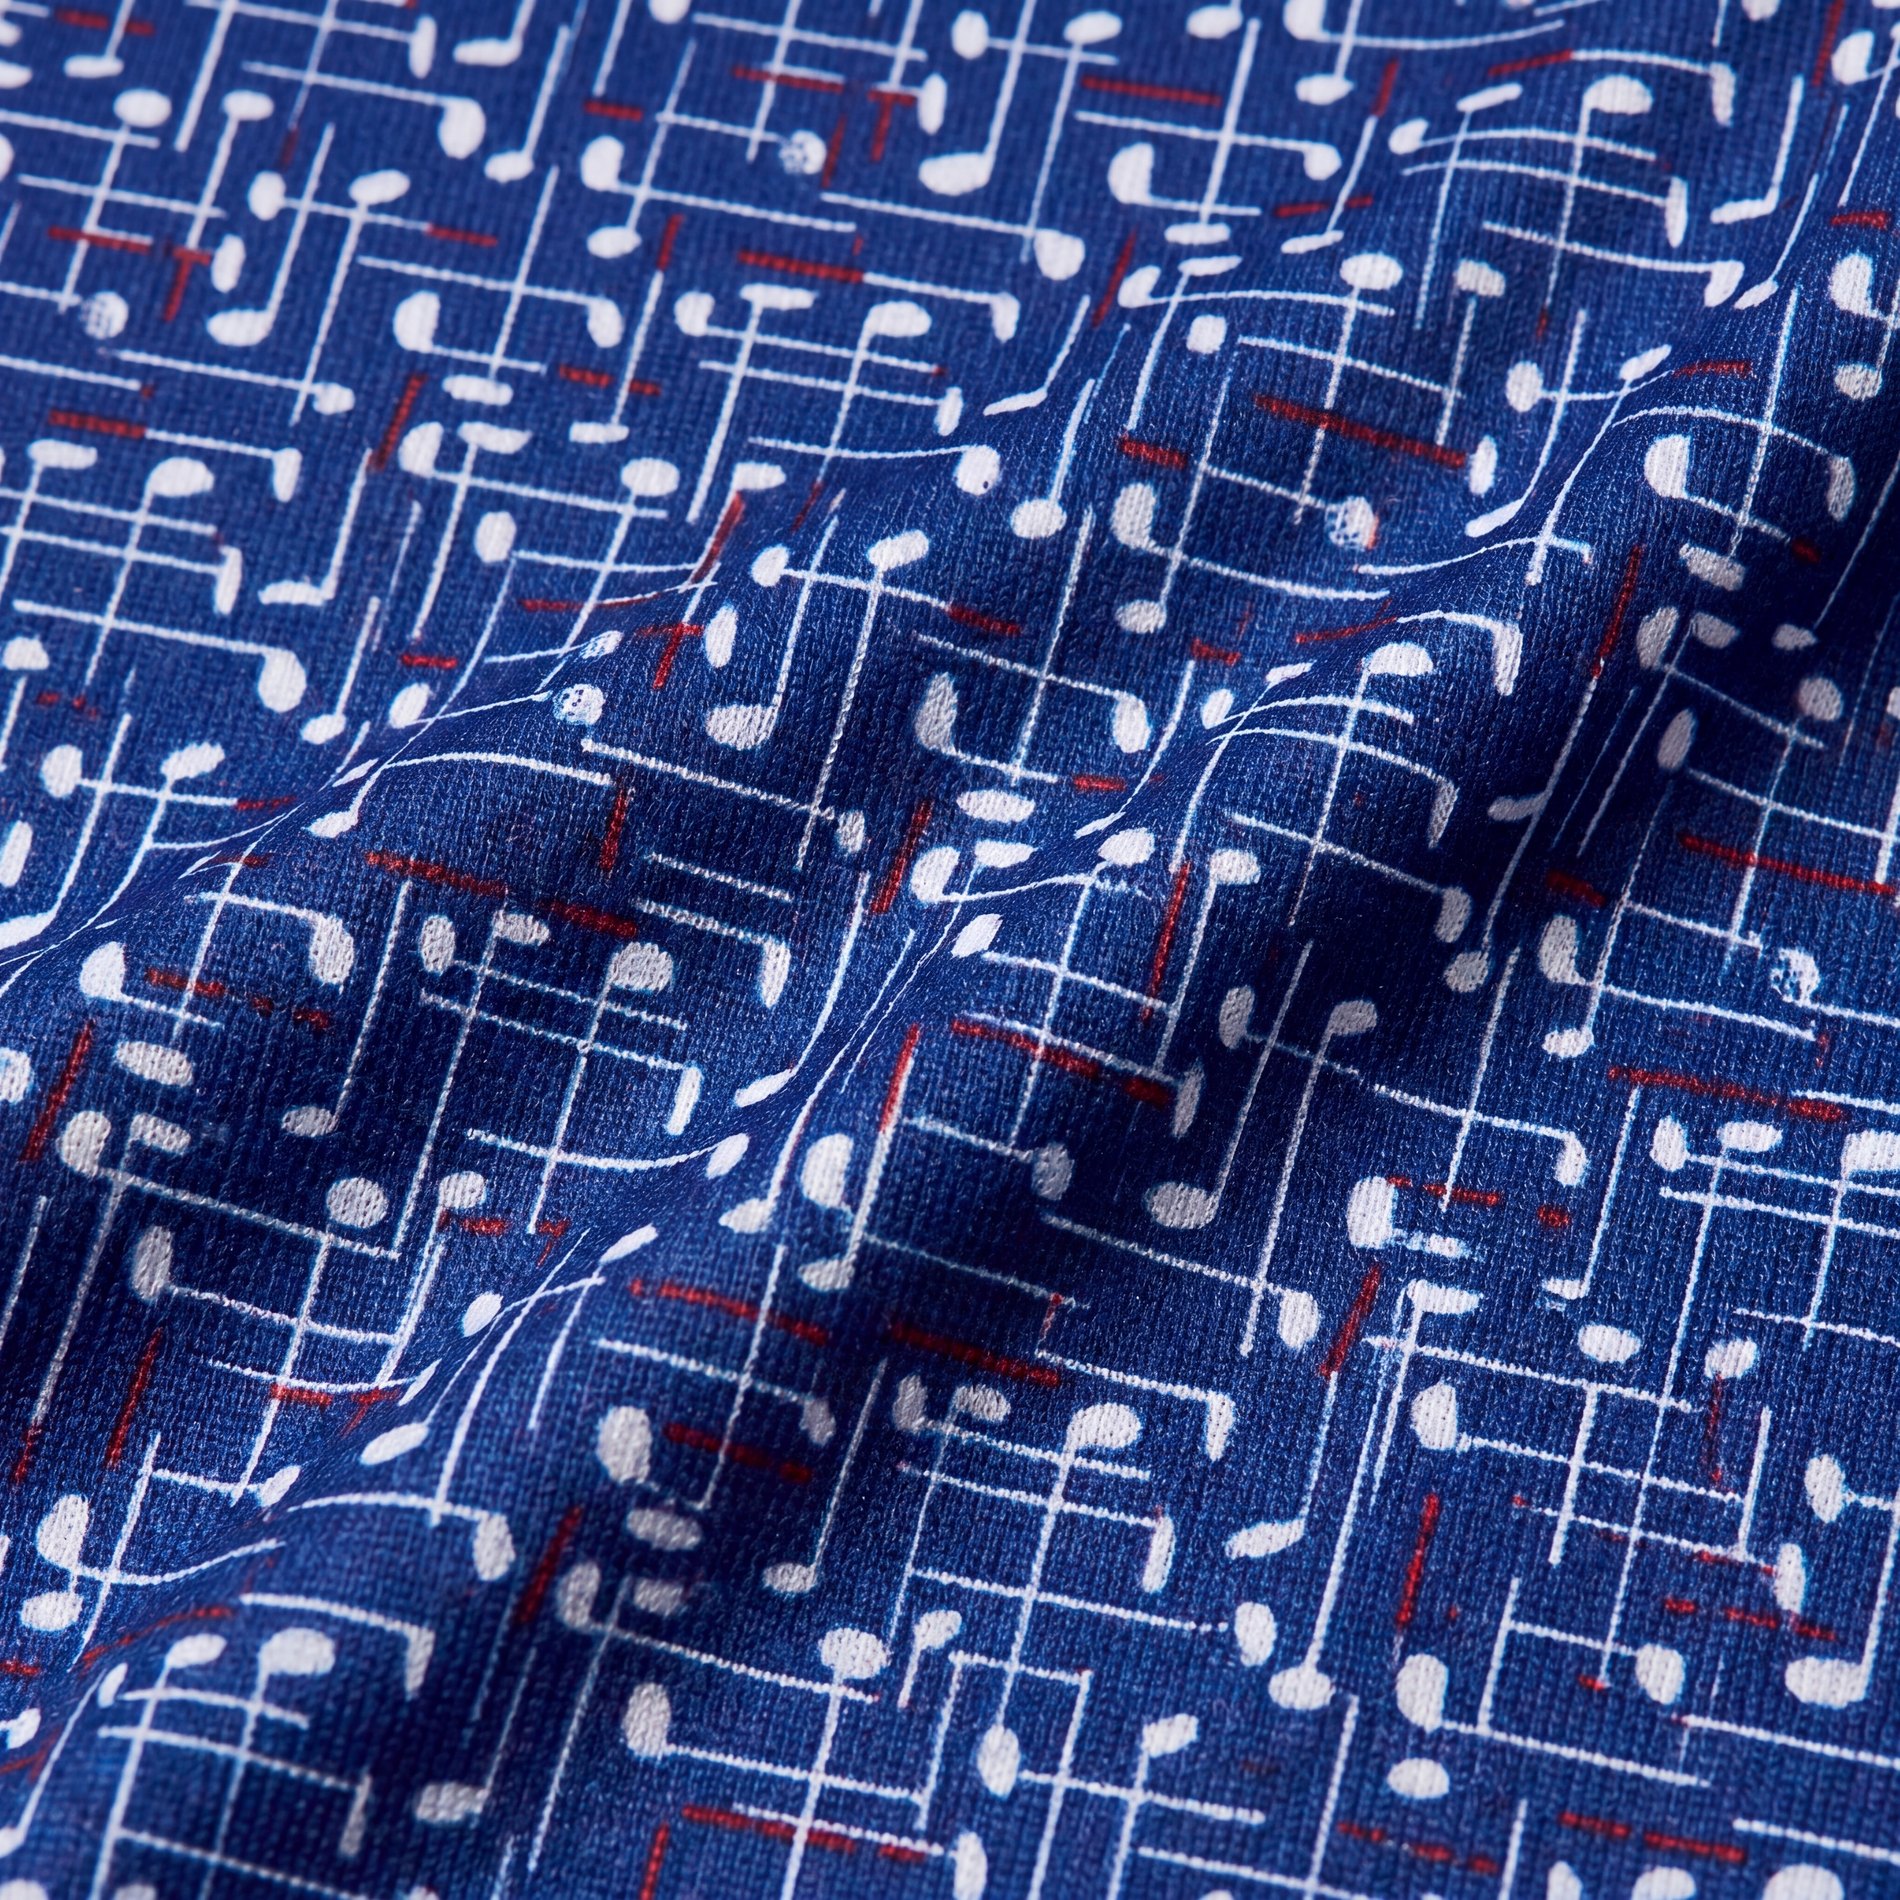
Fabric texture, print scale, collar detail, sleeve scale, and construction moments.
On-body and lifestyle views help show fit, scale, and how the print reads in use.
Same ghost image. Cleaner laydowns. Better detail. More realistic context.